The oven’s buzzing with heat, and the bell peppers are lined up like soldiers, ready to be filled. Just a few minutes in the kitchen, and they’ll transform into stuffed bell peppers that everyone will crave.
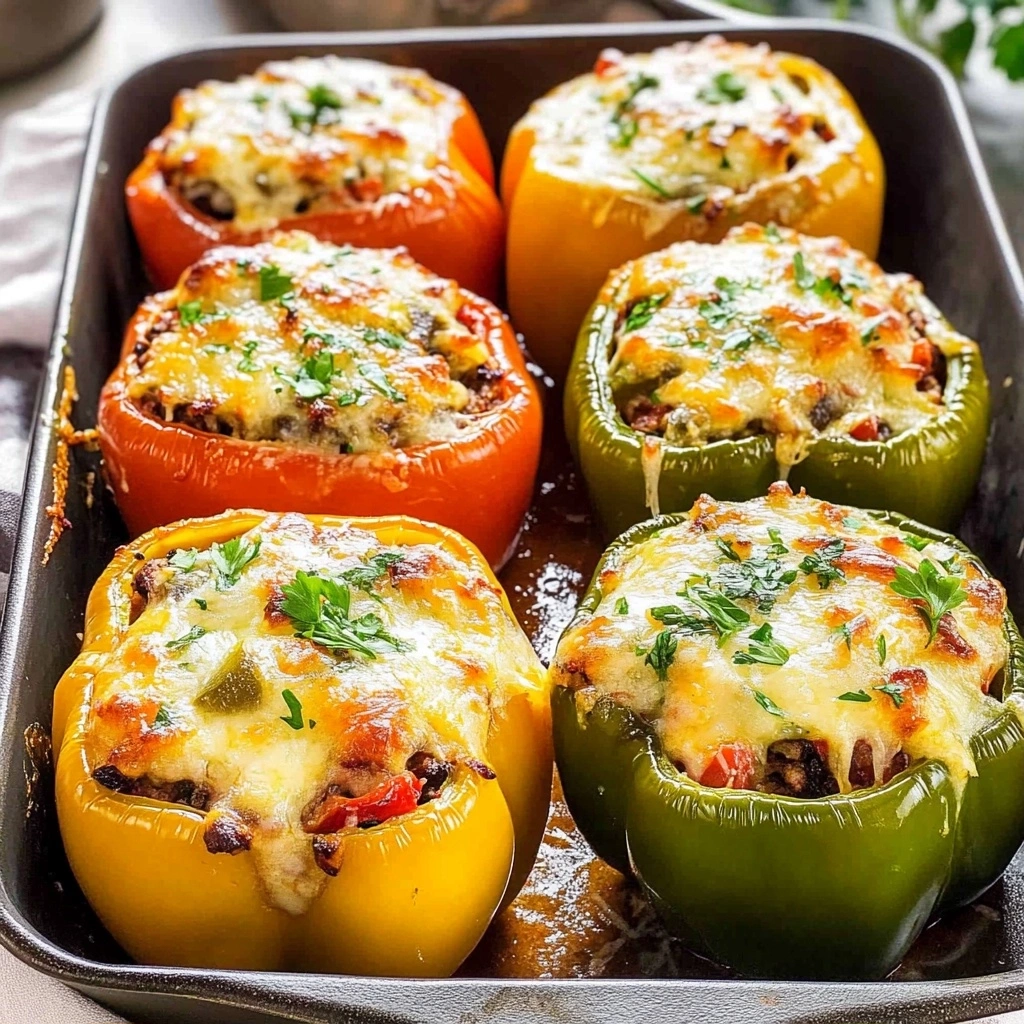
These are perfect for weeknights when you’ve got hungry mouths to feed but little time to spare. With a quick stovetop sauté before baking, you’re cutting down on cooking time while boosting flavor (and who doesn’t love that?). One pan means less mess too. Get ready for a delicious meal!
Why You’ll Love This stuffed bell peppers
- Super Easy: Just stuff, bake, and enjoy! Perfect for a quick weeknight dinner without much fuss.
- Bursting Flavor: Savory meat, spices, and melty cheese come together for an explosion of taste in every bite.
- Crisp-Tender Veggies: Enjoy the delightful crunch of bell peppers alongside a soft, satisfying filling that’s oh-so-comforting.
- Endless Variations: Swap out ingredients based on your pantry — go veggie, use different grains, or try new proteins!
- Filling & Nutritious: Packed with veggies and protein to keep you full longer; just watch the portions if you’re counting calories!
stuffed bell peppers Ingredients
Filling:
- 1 cup cooked rice (white or brown) — use leftover rice for quicker prep.
- 1 lb ground beef (or turkey) — turkey is a great leaner alternative.
- 1 can diced tomatoes (14.5 oz) — choose seasoned tomatoes for extra flavor.
- 1 cup onion (chopped) — sauté until translucent for the best taste.
- 1 tsp garlic powder — don’t skip — it’s what makes the sauce cling.
- 1 tsp chili powder — adjust to taste for desired spice level.
- 1 tsp salt — balances flavors, but can be reduced if watching sodium intake.
- 1/2 tsp black pepper — fresh ground gives the best flavor kick.
- 1 cup shredded cheese (cheddar or mozzarella) — mix cheeses for a richer topping.
Peppers:
- 4 bell peppers (any color) — use vibrant colors for a more appealing dish.
*Full measurements in the recipe card below.*
How to Make stuffed bell peppers
1. Preheat Oven: Preheat your oven to 375°F (190°C). This ensures the stuffed bell peppers cook evenly and get that nice, bubbly cheese on top.
2. Prepare Peppers: Cut the tops off the bell peppers and remove the seeds. Place them upright in a baking dish, making sure they stand firm. You want them to hold all that delicious filling!
3. Cook Filling: In a skillet over medium heat, brown the ground beef (or turkey) with chopped onions until the meat is no longer pink and onions are translucent, about 5-7 minutes.
4. Combine Ingredients: For the filling: Stir in cooked rice, diced tomatoes, garlic powder, chili powder, salt, and black pepper into the meat mixture. Cook for another 2-3 minutes until everything’s well combined.
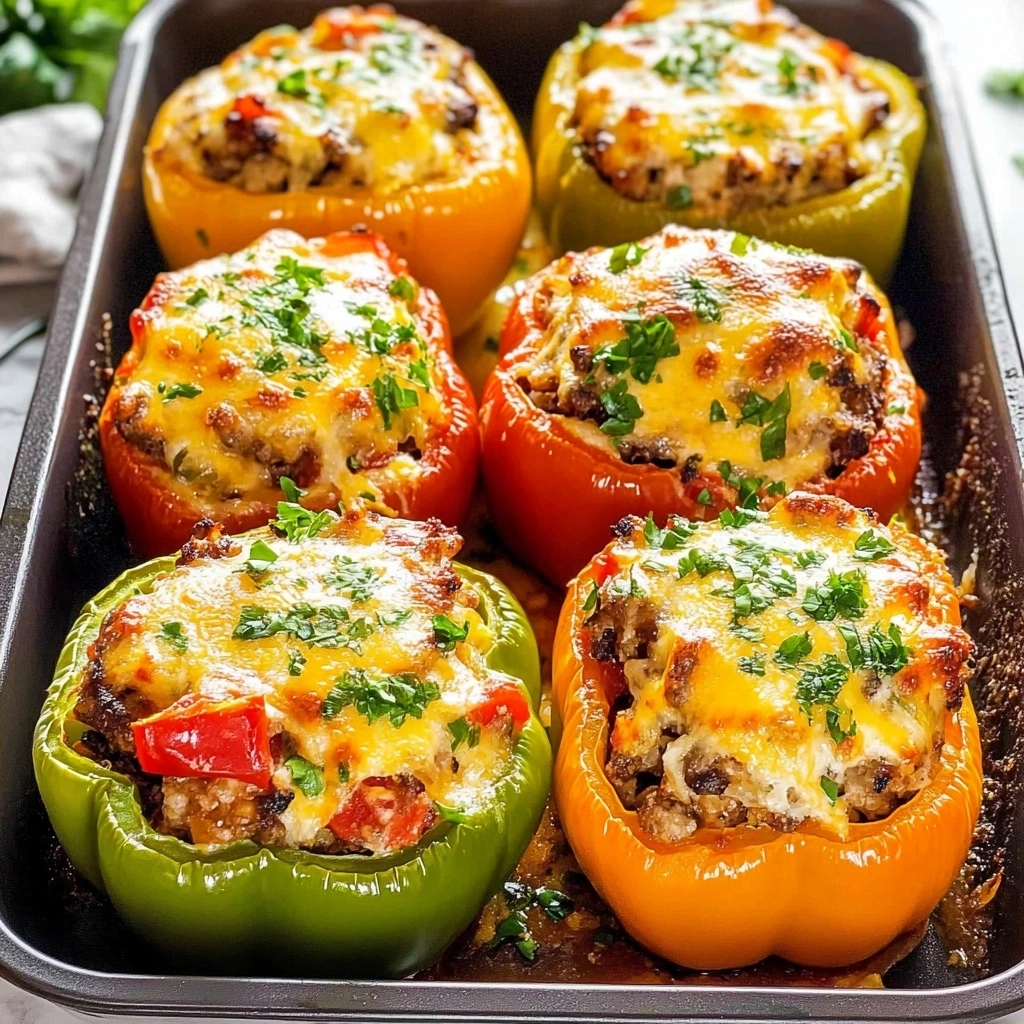
5. Stuff Peppers: Now, generously fill each bell pepper with the mixture, packing it in lightly. Top each pepper with shredded cheese for that gooey finish.
6. Bake: Cover the baking dish with foil and bake for 25 minutes. Then remove the foil and bake for an additional 15 minutes until the cheese is melted and bubbly — you’ll know it’s done when it’s golden brown on top.
7. Cool Slightly: Let them cool for about 5 minutes before serving; rushing this step might result in burning your tongue!
*Exact quantities in the recipe card below.*
How to Store stuffed bell peppers
- Room Temperature: It’s best to eat stuffed bell peppers right away; if you need to leave them out, don’t let them sit for more than 2 hours.
- Refrigerator: Store in an airtight container or tightly wrapped with plastic wrap for up to 3 days. The texture may soften a bit, but they’ll still taste good.
- Freezer: Wrap each stuffed bell pepper individually in foil or use a freezer-safe container for up to 3 months. Just know the rice might get a little mushy after thawing.
- Reheating: Heat in the oven at 350°F for about 20 minutes, or until heated through and the cheese is bubbly. You want that warm aroma wafting through your kitchen!
What to Serve with stuffed bell peppers?

To balance the hearty filling of this dish, consider sides that provide brightness or contrast in flavor and texture.
- Simple Green Salad: Crisp greens add freshness and a crunchy texture that lightens up each bite.
- Garlic Bread: The warm, crusty bread offers a satisfying texture contrast while soaking up any juices.
- Pickled Vegetables: The acidity cuts through the richness, providing a zesty pop that enhances overall enjoyment.
- Roasted Vegetables: Their caramelized sweetness adds depth while offering a colorful contrast on the plate.
- Crispy Coleslaw: This cool, crunchy side adds a refreshing element and balances the warm filling beautifully.
- Quinoa Salad: Packed with protein and fiber, this dish provides an additional chewy texture that complements well; prep in 20 minutes.
- Fruit Salsa: A sweet and tangy mix that adds brightness; make ahead for an easy 10-minute prep time.
stuffed bell peppers Variations
Here’s how to play with this recipe and make it your own.
- Spicy Kick: Add 1 tsp cayenne pepper with the other spices for a spicy flavor boost.
- Turkey Swap: Substitute ground beef with 1 lb ground turkey for a leaner option.
- Veggie Delight: Mix in 1 cup chopped bell pepper scraps during cooking for extra flavor and nutrients.
- Herb Infusion: Stir in 1 tbsp dried oregano or basil with the other spices for an aromatic touch.
- Cheesy Upgrade: Top with an extra 1/2 cup cheese during the last 10 minutes of baking for gooey goodness.
- Tomato Twist: Use 1 can of fire-roasted diced tomatoes instead of regular for a smoky taste.
- Rice Variety: Swap white rice for 1 cup brown rice to add texture and nuttiness to your filling.
Make Ahead Options for stuffed bell peppers
I like to prep my stuffed bell peppers a day in advance. I’ll cook the filling and stuff the peppers, then store them in an airtight container in the fridge. They can be made up to 24 hours ahead without losing flavor. The cooked filling holds up really well, but I find that fresh peppers start to lose their crunch if they sit too long. Just before serving, I pop them in the oven to heat through and melt the cheese on top. If you’re using a glass baking dish with a lid, it keeps everything nice and moist. Remember, fresh is best for that crunch! Enjoy your meal!
stuffed bell peppers Recipe FAQs
Can I make stuffed bell peppers ahead of time?
Absolutely! You can prepare the filling and stuff the peppers a day in advance. Just store them in the refrigerator until you’re ready to bake. When you’re ready to cook, you might need to add an extra 5-10 minutes to the baking time if they go into the oven cold. This way, you can enjoy a delicious meal without last-minute prep!
Why did my stuffed bell peppers turn out watery?
If your stuffed bell peppers are watery, it could be due to excess moisture from the tomatoes or undercooked rice that releases water during baking. To avoid this, try draining the diced tomatoes well before adding them to the filling. Using fully cooked rice also helps absorb moisture better. Keep an eye on consistency while preparing; it should be thick but not dry.
What can I substitute for ground beef in this recipe?
You can easily swap ground beef with ground turkey, chicken, or even plant-based meat alternatives for a healthier option. Each will bring its own flavor and texture, so pick one that fits your dietary needs or preferences. If you choose leaner meats like turkey, just be cautious about drying out; keep an eye on cooking times and use sufficient seasoning.
How do I know when my stuffed bell peppers are done?
You’ll know your stuffed bell peppers are done when they’re tender and the cheese on top is bubbly and golden brown. A fork should easily pierce through the pepper skin, indicating they’ve softened properly. If you’re unsure, check that the internal temperature of the filling reaches 165°F (74°C). This ensures everything’s cooked thoroughly for a safe and tasty dish!
Final Thoughts on stuffed bell peppers
Stuffed bell peppers are a fantastic way to combine flavors and textures into one hearty dish. The technique of baking the peppers allows them to soften while infusing their natural sweetness into the filling, creating a comforting meal that feels both satisfying and wholesome. If you’re looking for something that saves time without sacrificing taste, this recipe is just what you need. Make it once and it’ll earn a permanent spot in your weekly rotation. Drop a comment if you added anything — I’m always curious.
stuffed bell peppers
Ingredients
Method
- Preheat the oven to 375°F (190°C).
- Cut the tops off the bell peppers and remove the seeds and membranes.
- In a skillet over medium heat, cook the ground beef until browned. Drain excess fat.
- Add chopped onion to the skillet and cook until translucent, about 5 minutes.
- Stir in cooked rice, diced tomatoes, garlic powder, chili powder, salt, and black pepper. Mix well and heat through.
- Remove from heat and stir in half of the shredded cheese.
- Stuff each bell pepper with the beef and rice mixture, pressing down to pack it in.
- Place the stuffed peppers upright in a baking dish. Sprinkle the remaining cheese on top.
- Cover with foil and bake in the preheated oven for 25 minutes.
- Remove the foil and bake for an additional 5 minutes, or until the cheese is bubbly and golden.
- Let cool for a few minutes before serving.