The layers are coming together, and the sweet aroma of chocolate and whipped cream fills the air. In just a few moments, this icebox cake will transform from simple ingredients into a creamy, dreamy dessert that everyone will adore.
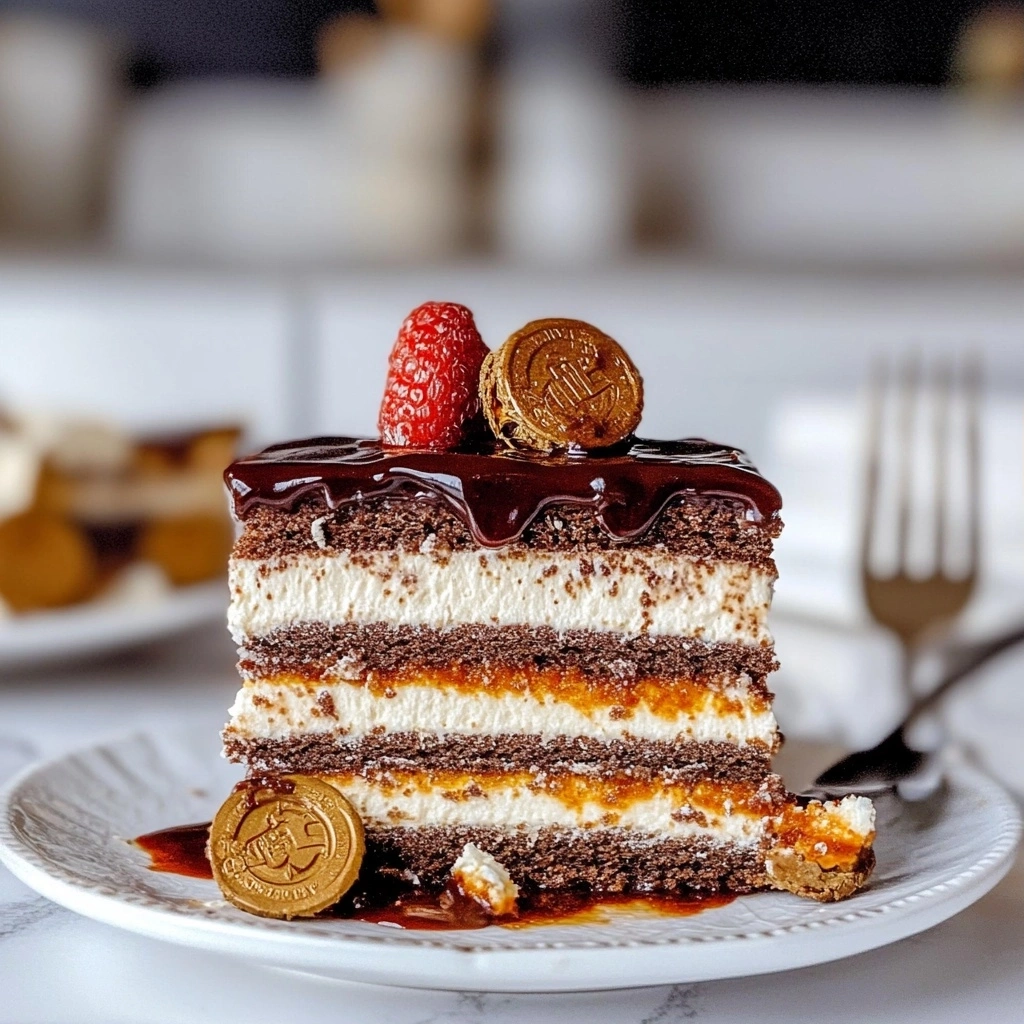
Perfect for summer gatherings or last-minute celebrations, this recipe requires no baking and can be prepped in under 20 minutes. With its light texture and refreshing flavors, it’s the ideal treat when you want something special without the fuss. Just layer, chill, and serve. Deliciousness awaits!
Why You’ll Love This icebox cake
- Super Easy: Just layer and chill — no baking required, making it a total time-saver for busy days.
- Decadent Flavor: Rich chocolate or fruity layers blend perfectly, creating a delightful taste explosion in every bite.
- Creamy Texture: Experience a melt-in-your-mouth sensation that’s both smooth and refreshing — perfect for warm weather.
- Versatile Dessert: Swap ingredients to fit your taste; try different cookies or fillings to keep it exciting every time!
- Watch the Timing: Best enjoyed fresh within 2 days; after that, it can become a bit soggy but still delicious.
icebox cake Ingredients

Cake Layers:
- 24 pieces chocolate wafer cookies — use thin, crisp cookies for the best texture.
Filling:
- 2 cups heavy whipping cream (chilled) — ensure it’s chilled for better whipping results.
- 1/2 cup powdered sugar (adjust to taste) — adjust sweetness based on your preference; granulated sugar can be used in a pinch.
- 1 teaspoon vanilla extract — don’t skip this, it enhances the overall flavor profile.
Topping:
- 1/4 cup chocolate shavings (for garnish) — use a vegetable peeler on a chocolate bar for perfect shavings.
*Full measurements in the recipe card below.*
How to Make icebox cake
1. Prepare the Filling: In a large mixing bowl, combine the chilled heavy whipping cream, powdered sugar, and vanilla extract. Whip until soft peaks form and it looks fluffy.
2. Layer the Cookies: On a serving dish or platter, start by placing a layer of chocolate wafer cookies side by side. Make sure they’re tightly packed for stability.
3. Add the Cream: Spread a generous layer of the whipped cream mixture over the cookies using a spatula. Aim for an even layer that covers all the cookies completely.
4. Repeat Layers: Continue layering by adding another set of cookies on top of the cream and then another layer of whipped cream. Repeat this process until all ingredients are used up.
5. Chill the Cake: Cover the assembled icebox cake with plastic wrap and refrigerate it for at least 4 hours, or overnight if possible, until it’s set and flavors meld together.
6. Garnish with Chocolate: Just before serving, sprinkle chocolate shavings over the top for garnish. This adds an elegant touch to your delicious dessert.
7. Serve & Enjoy: Slice into portions and serve cold. Watch out! If you rush slicing while it’s still soft, it may crumble instead of holding its shape nicely.
*Exact quantities in the recipe card below.*
How to Store icebox cake
- Room Temperature: It’s best to keep icebox cake in the fridge, but if you need to store it at room temperature, cover it tightly with plastic wrap for up to 2 hours.
- Refrigerator: Store in an airtight container or tightly wrapped with plastic for up to 3 days. The layers might soften a bit, but it still tastes great!
- Freezer: Wrap individual slices in plastic wrap and then foil, or use a freezer-safe container for up to 1 month. The texture may change slightly after thawing.
- Reheating: If you want to enjoy it slightly warm, pop individual servings in the microwave for about 10-15 seconds until just warm; it should feel soft but not hot.
What to Serve with icebox cake?
It’s rich and creamy, so pairing it with something light or acidic helps balance the flavors and texture.
- Fresh Berries: Their tartness cuts the sweetness, providing a refreshing balance that enhances every bite.
- Mint Tea: A chilled cup offers a soothing temperature contrast, making each slice feel lighter on the palate.
- Zesty Lemon Sorbet: The acidity brightens up the sweetness, delivering a delightful contrast that awakens your taste buds.
- Toasted Almonds: Try sprinkling these on top for a crunchy texture difference that adds depth to each creamy layer.
- Citrus Salad: A mix of oranges and grapefruit provides vibrant color contrast and an acidity that refreshes the palate.
- Chocolate Espresso: Brewed strong, this drink’s bitterness balances out the sweetness beautifully; just 5 minutes to prepare!
- Coconut Whipped Cream: It’s airy and light; whip it up in under 10 minutes for a delightful topping that contrasts nicely.
- Iced Green Tea: The coolness paired with earthy notes creates a calming effect, perfect for cutting through richness effortlessly.
icebox cake Variations
Here’s how to play with this recipe and make it your own.
- Mint Chocolate Delight: Add 1/2 tsp peppermint extract to the filling for a refreshing twist.
- Mocha Bliss: Mix in 1 tbsp espresso powder with the powdered sugar for a coffee-flavored kick.
- Nutty Crunch: Layer in 1/2 cup crushed nuts between cookie layers for added texture.
- Berry Burst: Incorporate 1 cup of mixed berries into the filling before layering for fruity freshness.
- Chocolate Hazelnut Indulgence: Swirl in 1/4 cup chocolate hazelnut spread into the whipped cream for richness.
- Lighter Version: Substitute half of the heavy whipping cream with Greek yogurt for a lighter filling option.
- Decadent Layer Cake: Create an extravagant dessert by doubling the layers and adding chocolate shavings between each layer!
Make Ahead Options for icebox cake
I love prepping my icebox cake ahead of time for gatherings. I typically assemble it a day in advance, allowing those flavors to meld beautifully overnight. To store it, I use an airtight container and keep it in the fridge, where it’ll stay fresh for up to three days. Just remember that while the filling holds up well, the chocolate wafer cookies can become too soft if left too long, so I recommend finishing with the chocolate shavings right before serving. It’s a simple touch that makes a big difference! Trust me, your guests will be impressed. Enjoy every bite!
icebox cake Recipe FAQs
Can I make icebox cake ahead of time?
Absolutely! In fact, making icebox cake ahead of time is ideal since it needs to chill for at least 4 hours, or preferably overnight. This allows the flavors to meld and the cookies to soften perfectly. Just be sure to cover it tightly with plastic wrap to keep it fresh in the fridge. If you’re preparing it for a special occasion, aim to make it the day before.
Why did my icebox cake turn out soupy?
If your icebox cake is soupy, it’s likely due to under-whipping the cream or not letting it chill long enough. The cream should form stiff peaks when whipped, which helps maintain structure. Make sure your heavy whipping cream is chilled and whisk until you see those peaks forming. If you notice it’s still too loose after assembling, consider chilling longer next time.
What can I substitute for chocolate wafer cookies in this dish?
If you can’t find chocolate wafer cookies, you can use graham crackers or even Oreos as substitutes. Just keep in mind that different cookies will impart varying flavors and textures. For a richer taste, go with Oreos; they’ll add a bit more sweetness and chocolate flavor to this dish. Remember, whatever you choose should ideally complement the whipped cream filling.
How can I tell when my whipped cream is ready for this recipe?
You’ll know your whipped cream is ready when it forms stiff peaks that hold their shape well without collapsing back into the bowl. It should look fluffy and glossy but be careful not to over-whip—this could turn it into butter! Keep an eye on it as you whisk; stopping at just the right moment ensures a light texture that complements the layers beautifully.
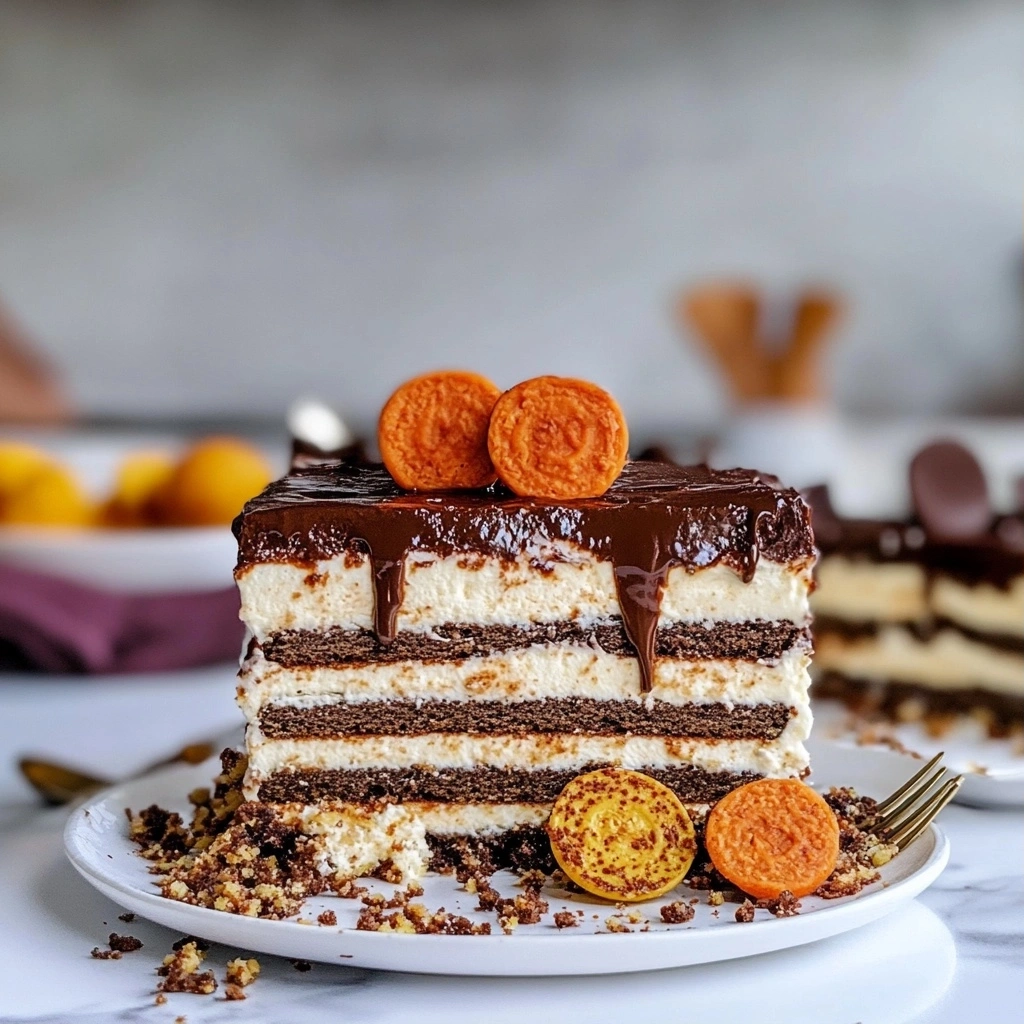
Final Thoughts on icebox cake
Icebox cake stands out for its simplicity, making it a go-to dessert that requires minimal effort yet delivers a rich flavor experience. With just a handful of ingredients like chocolate wafer cookies, heavy whipping cream, and a touch of vanilla, you can whip up this treat without the need for baking. If you’ve been looking for an impressive dessert that doesn’t take hours in the kitchen, give this one a try. I’d love to hear how yours turned out in the comments!
icebox cake
Ingredients
Method
- In a mixing bowl, combine the heavy whipping cream, powdered sugar, and vanilla extract.
- Using a whisk, beat the mixture until stiff peaks form.
- Spread a thin layer of the whipped cream mixture on the bottom of the loaf pan.
- Place a layer of chocolate wafer cookies on top of the cream.
- Repeat the layers, alternating between cream and cookies, until all ingredients are used, finishing with a layer of cream on top.
- Cover the loaf pan with plastic wrap and refrigerate for at least 4 hours, or overnight for best results.
- Once chilled, remove the cake from the pan and garnish with chocolate shavings before slicing.