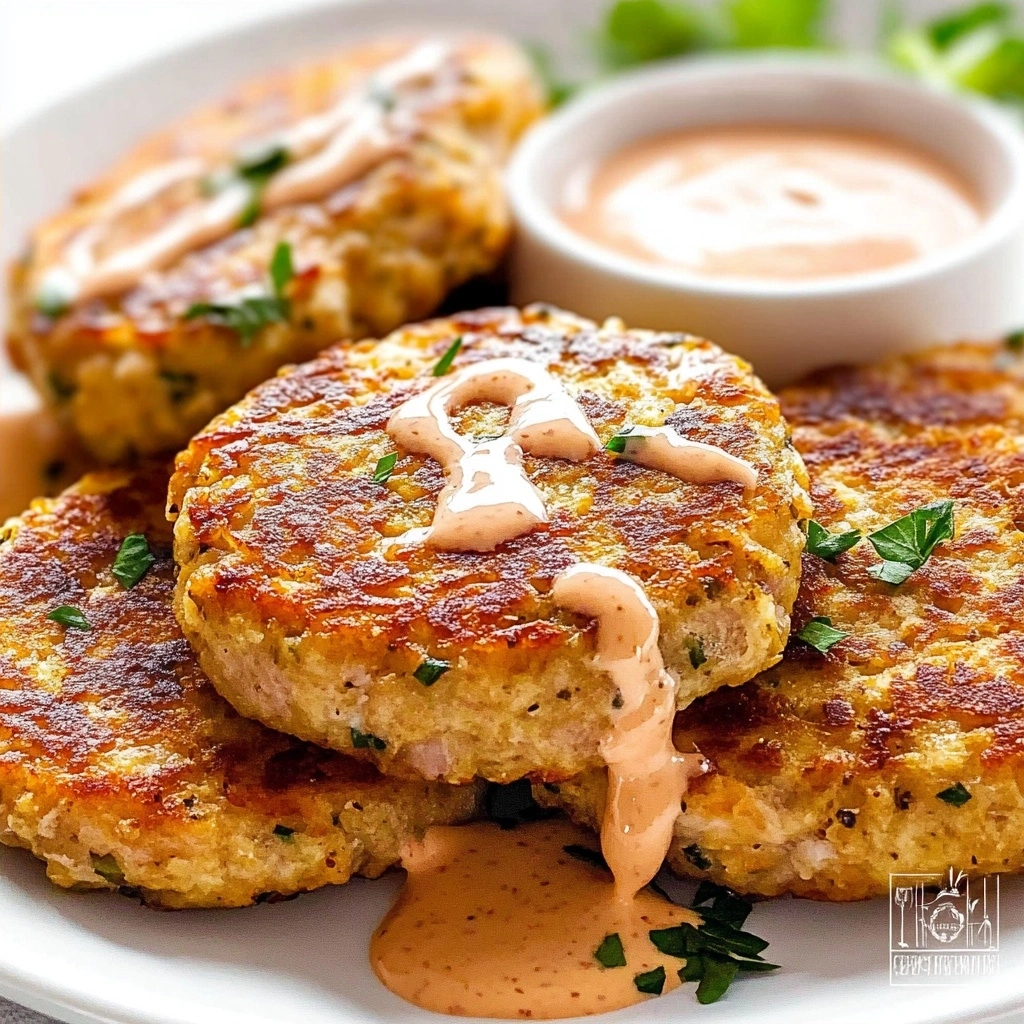
The skillet’s sizzling, and the golden crust is forming. Just five minutes in, the aroma’s already tempting everyone around. Tuna cakes are on the menu tonight, and they’re about to disappear fast.

These cakes are perfect for weeknights when you’ve got 30 minutes and a craving for something satisfying. With pantry staples like canned tuna and breadcrumbs, you won’t need to spend hours prepping. Plus, they’re pan-fried for that delightful crisp without the fuss of baking. Trust me, you’ll be making these again soon! Quick and tasty bites await.
Why You’ll Love This tuna cakes
- Super Easy Prep: Just mix, shape, and cook—perfect for busy weeknights or quick lunches.
- Bold Flavor: Packed with zesty seasonings and fresh ingredients, each bite bursts with deliciousness.
- Crisp-Tender Texture: The outside is golden and crispy while the inside stays moist and tender—so satisfying!
- Endless Versatility: Pair it with your favorite dips, toss in salads, or serve on buns for fun variations.
- Filling Yet Light: It’s surprisingly filling without being heavy, making it a great option for lighter meals.
tuna cakes Ingredients
Cakes:
- 2 cans tuna (drained) — choose solid white tuna for a firmer texture.
- 1 cup bread crumbs (preferably whole wheat) — use crushed crackers as a gluten-free alternative.
- 1 large egg (beaten) — binds the ingredients together for better structure.
- 1 small onion (finely chopped) — sauté lightly for a sweeter, milder flavor if desired.
- 2 cloves garlic (minced) — adds a robust taste, don’t skip for best results.
- 1 tablespoon fresh parsley (chopped) — enhances freshness and color in the cakes.
- 1 teaspoon lemon juice — brightens flavors, essential for balancing richness.
- 1 teaspoon salt — adjust to taste but don’t forget it enhances all flavors.
- 1 teaspoon black pepper — adds subtle heat; feel free to add more if you like spice.
- 2 tablespoons olive oil (for frying) — use avocado oil for a higher smoke point.
*Full measurements in the recipe card below.*
How to Make tuna cakes
1. Prepare the Mixture: In a large bowl, combine drained tuna, bread crumbs, beaten egg, onion, garlic, parsley, lemon juice, salt, and black pepper. Mix until well blended.
2. Form the Cakes: Shape the mixture into small patties, about 2-3 inches wide. You should have around 8-10 cakes depending on size.
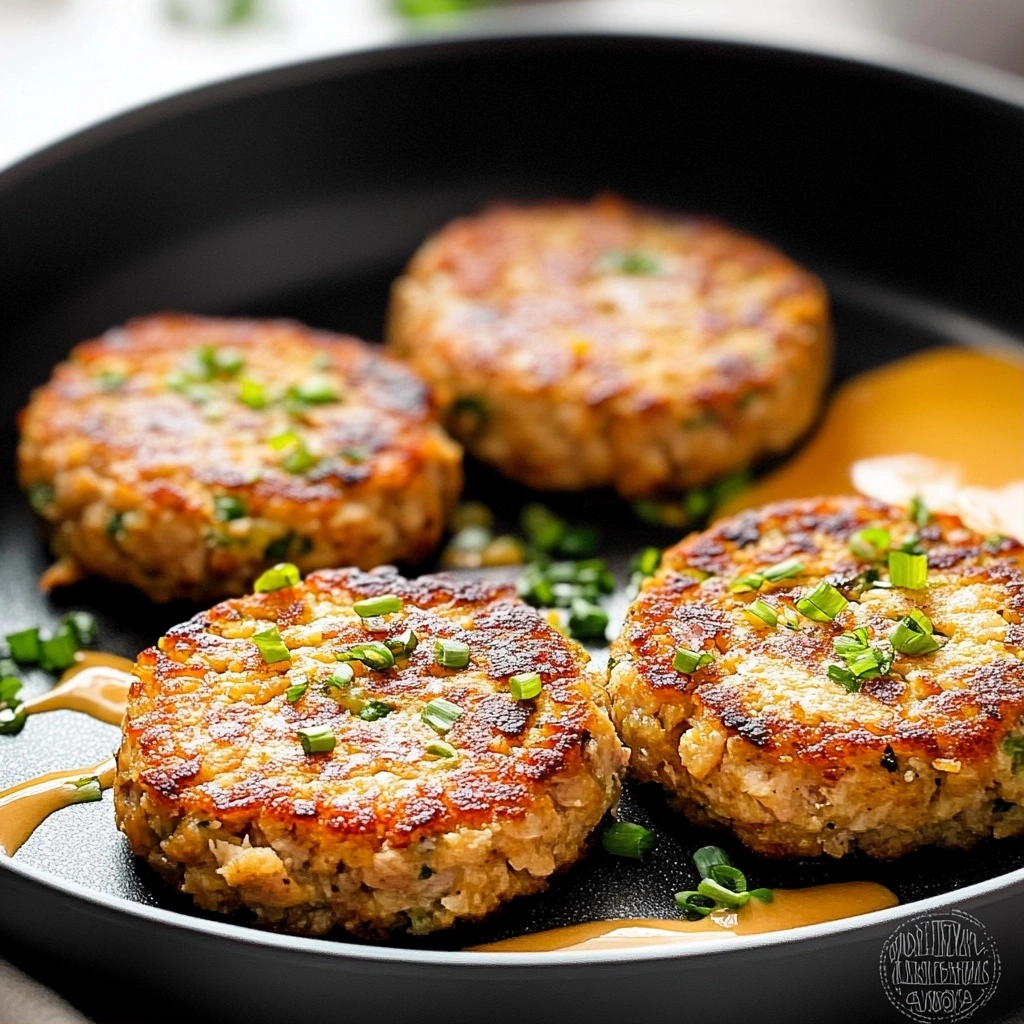
3. Heat the Oil: In a skillet over medium heat, add olive oil. Wait until the oil shimmers slightly before adding the tuna cakes for optimal frying.
4. Cook Until Golden: Gently place the cakes in the hot oil and cook for about 4-5 minutes on each side until they’re golden brown and crispy. You’ll hear them sizzle nicely when it’s time to flip.
5. Watch Out for Burning: Don’t walk away here — it goes from golden to burnt in about 30 seconds! Keep an eye on them as they cook.
6. Drain Excess Oil: Once cooked, remove the tuna cakes from the skillet and place them on paper towels to drain any excess oil.
7. Serve Warm: Enjoy your tuna cakes warm as a delicious snack or main dish with your favorite dipping sauce or sides! *Exact quantities in the recipe card below.*
How to Store tuna cakes
- Room Temperature: Keep tuna cakes in an airtight container for up to 2 hours. After that, it’s best to refrigerate or freeze them to prevent spoilage.
- Refrigerator: Store tuna cakes in a sealed container for up to 3 days. Just know that the crispy edges might lose their crunch.
- Freezer: Wrap individual tuna cakes tightly in plastic wrap and then place them in a freezer bag. They’ll last for about 2 months without losing too much flavor.
- Reheating: Heat tuna cakes in the oven at 350°F for about 10 minutes or until they’re heated through and crispy again. You’ll know they’re ready when they’re warm all the way through and the edges start to crisp up.
What to Serve with tuna cakes?
It’s rich enough to enjoy alone, but adding sides can enhance the experience and balance flavors.
- Mixed Green Salad: A fresh mix of greens adds a crisp texture that contrasts beautifully with it.
- Lemon Aioli: The acidity in this dip cuts through richness and adds a zesty flavor kick.
- Coleslaw: This crunchy side offers a delightful texture difference and balances the savory taste of it.
- Roasted Asparagus: Try this warm veggie for a contrast in temperature that brightens up your plate.
- Quinoa Salad: A light, nutty grain salad provides a filling element without overpowering the dish; prep in 20 minutes.
- Cucumber Pickles: The tartness of pickles offers acidity that enhances the flavors and refreshes your palate.
- Sweet Potato Fries: Their natural sweetness contrasts nicely with it, creating an enjoyable flavor harmony; bake in 30 minutes.
- Avocado Slices: Creamy avocado brings a luxurious texture that complements the crispy exterior of it perfectly.
tuna cakes Variations
Here’s how to play with this recipe to create exciting variations that suit your taste and occasion.
- Spicy Tuna Cakes: Add 1 teaspoon cayenne pepper with the other spices for a kick of heat.
- Herbed Delight: Mix in 2 tablespoons of chopped fresh dill along with the parsley for an aromatic twist.
- Cheesy Tuna Cakes: Fold in 1/2 cup shredded cheese, like cheddar, before shaping the patties for extra creaminess.
- Zesty Lemon Tuna Cakes: Incorporate an additional teaspoon of lemon juice into the mixture for a brighter flavor profile.
- Vegetable Boost: Stir in 1/2 cup finely diced bell peppers when mixing to add crunch and color.
- Nutty Crunch Variation: Add 1/4 cup crushed walnuts or almonds to the mixture before frying for a nutty texture upgrade.
- Gluten-Free Option: Substitute bread crumbs with gluten-free breadcrumbs in equal amounts for a gluten-friendly version.
Make Ahead Options for tuna cakes
I love making tuna cakes ahead of time to save on prep. You can mix all the ingredients—like the drained tuna, bread crumbs, and spices—up to 24 hours in advance and store them in an airtight container in the fridge. Just remember that while the mixture holds up well, I wouldn’t recommend cooking the cakes until right before serving, as they tend to lose their texture if pre-cooked. When you’re ready to eat, form the patties and fry them in olive oil for a crispy finish. The cooked tuna cakes are best enjoyed fresh but can be stored for a couple of days in the fridge. Make sure to reheat gently! Enjoy your meal!
tuna cakes Recipe FAQs
Can I make tuna cakes ahead of time?
Yes, you can prepare the tuna cake mixture in advance and refrigerate it for up to 24 hours before cooking. Just form the patties, cover them tightly with plastic wrap, and store them in the fridge. When you’re ready to cook, just heat your pan and fry them as usual. This way, you’ll save time on busy days! Just remember that they may need a few extra minutes of cooking time if they’re cold.
Why did my tuna cakes fall apart while cooking?
If your tuna cakes fell apart, it’s likely due to not having enough binding ingredients. The egg is crucial for holding everything together, so ensure it’s well-beaten before mixing. Also, try adding a bit more bread crumbs if the mixture seems too wet. You’ll know they’re ready to flip when they have a nice golden crust on one side—this means they’ve set properly!
What can I substitute for bread crumbs in this dish?
If you don’t have bread crumbs, crushed crackers or panko can work as great substitutes. Alternatively, you could use oats or ground almonds for a gluten-free option. Just keep in mind that different substitutes might slightly change the texture or flavor of your tuna cakes. Adjust seasoning if needed after mixing; taste testing is key!
What dipping sauce goes well with this recipe?
A tangy tartar sauce pairs beautifully with tuna cakes! You can make a simple version by mixing mayonnaise with chopped pickles and a squeeze of lemon juice. For something lighter, try a yogurt-based sauce with herbs like dill or parsley mixed in. These sauces will elevate the flavors of your tuna cakes and add moisture—perfect for balancing out their crispy exterior!
Final Thoughts on tuna cakes
Tuna cakes are a fantastic way to transform pantry staples into a quick, satisfying meal. The simplicity of combining just a few ingredients like canned tuna, bread crumbs, and aromatic garlic and onion means you can whip up this dish in no time. If you’ve been looking for a speedy weeknight dinner that still delivers on flavor, tonight’s the night to give these a try. Let me know how yours turned out in the comments!
tuna cakes
Ingredients
Method
- In a mixing bowl, combine the drained tuna, bread crumbs, beaten egg, chopped onion, minced garlic, parsley, lemon juice, salt, and black pepper.
- Mix all the ingredients until well combined.
- Form the mixture into patties, about 2-3 inches in diameter.
- Heat olive oil in a frying pan over medium heat.
- Add the tuna patties to the pan, cooking for about 4-5 minutes on each side or until golden brown.
- Remove from the pan and drain on paper towels.